Rainbow puffy paint cloud painting
There will be a smile at the end of every rainbow when you whip up a batch of DIY puffy paint and help your kiddos create clouds. But, cloud painting doesn't have to be limited to rainbows — have your youngster create cloud shapes and explain what he or she sees, just like when you cloud gaze out on the lawn.
Supplies:
- White school glue
- Foam shaving cream
- Paper
- Paintbrush
- Crayons
Directions:
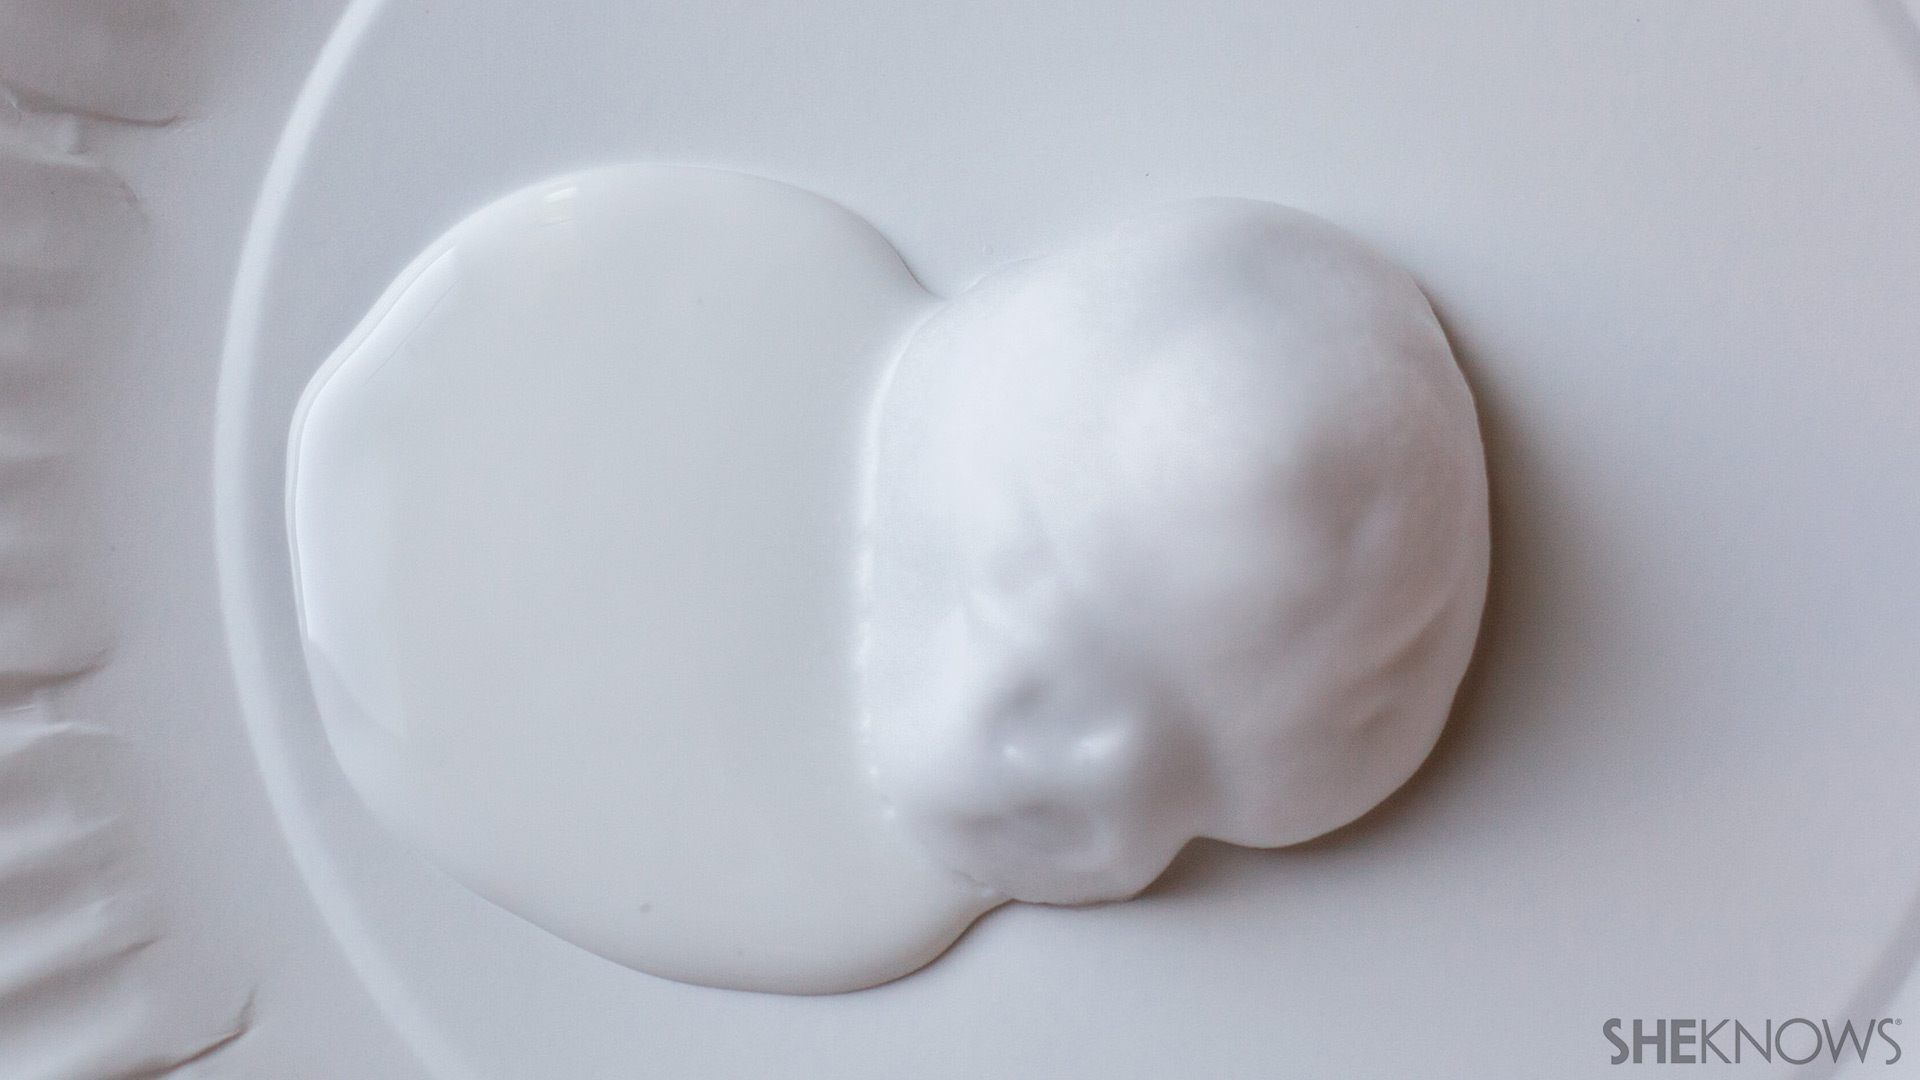
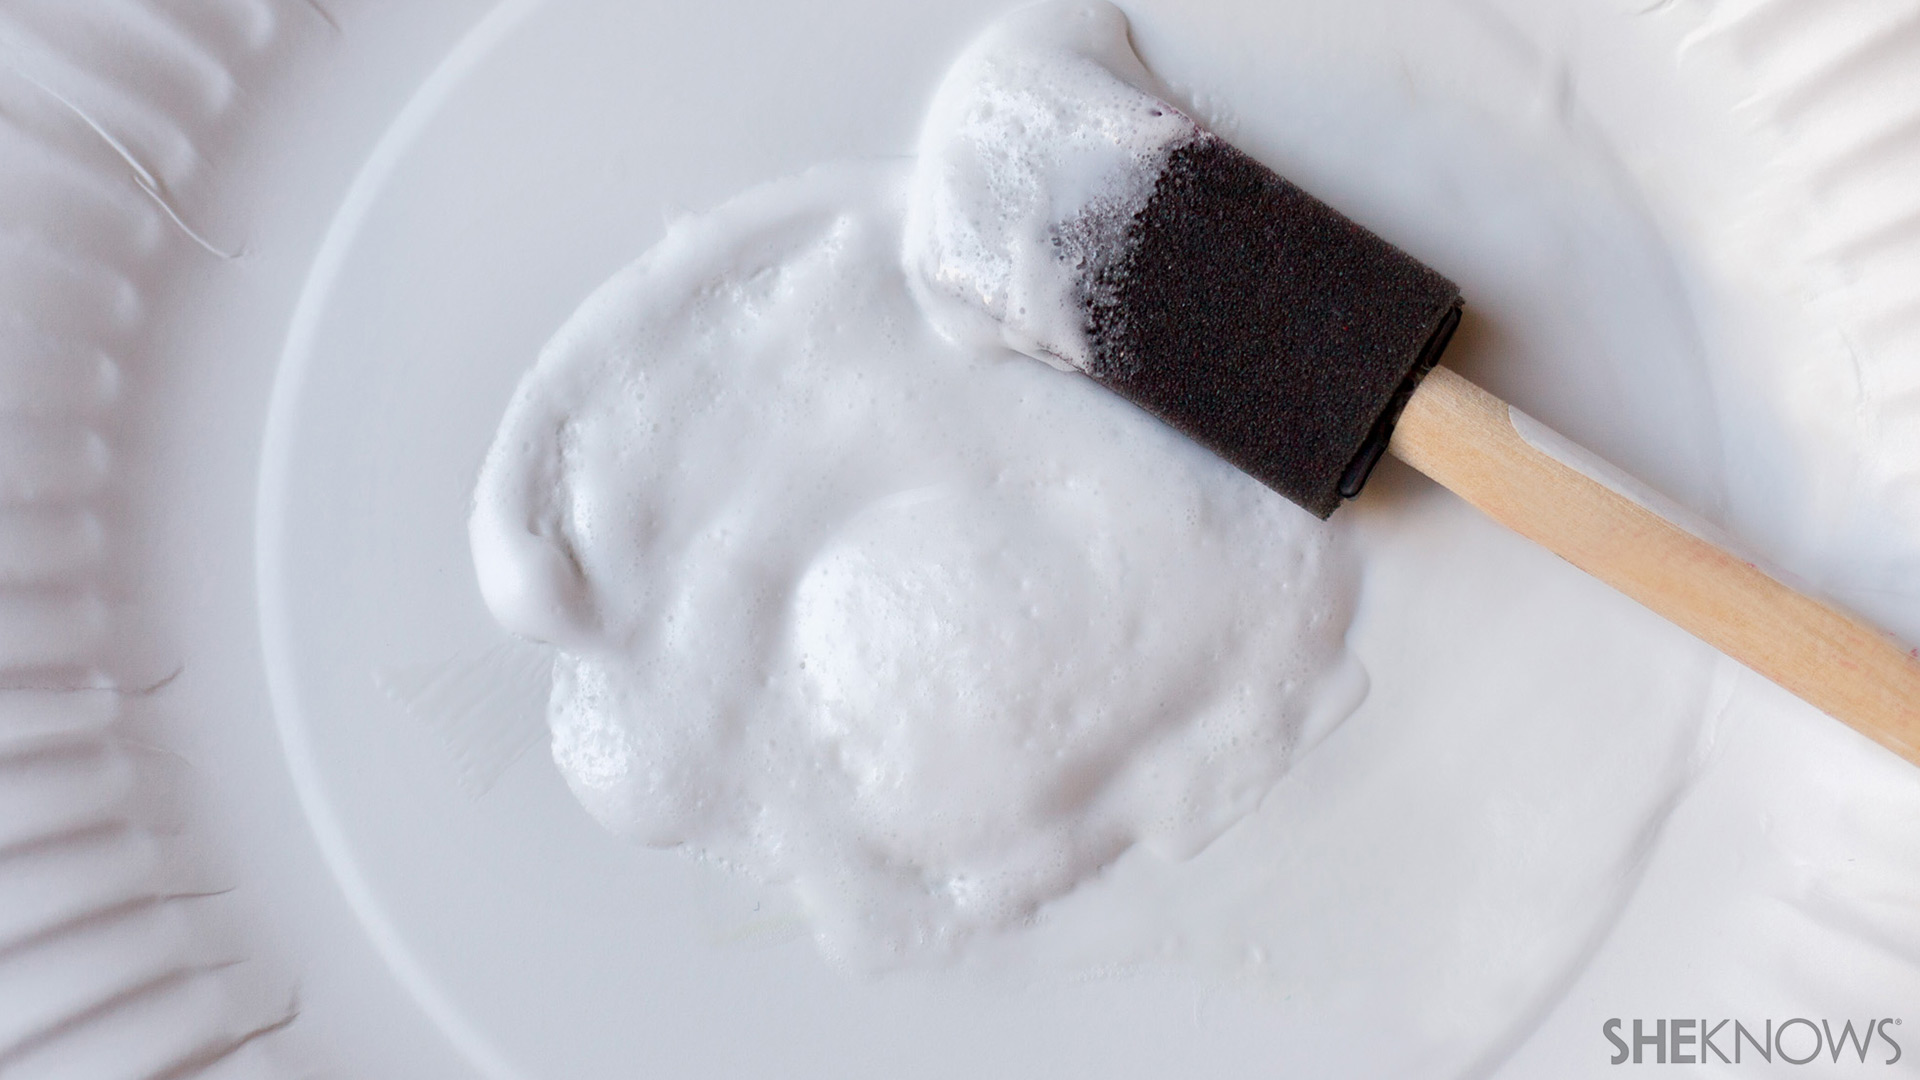
- First, gently mix equal parts of the glue and shaving cream in a bowl or on a plate.
- Next, have your youngster draw a rainbow or other masterpiece on a piece of paper. You can use markers, too, but they tend to bleed if the drawing overlaps your DIY puffy paint.
- Then, have your kiddo use a paintbrush to dab on clouds at each end of the rainbow, or create any cloud painting he or she can imagine.
- Finally, allow this craft for kids to dry on a flat surface overnight or it will run. By morning, your child's puffy paint work of art will be dry enough to hang.
Make easy DIY Easter hair clips anytime of the year >>
Cotton candy craft for kids
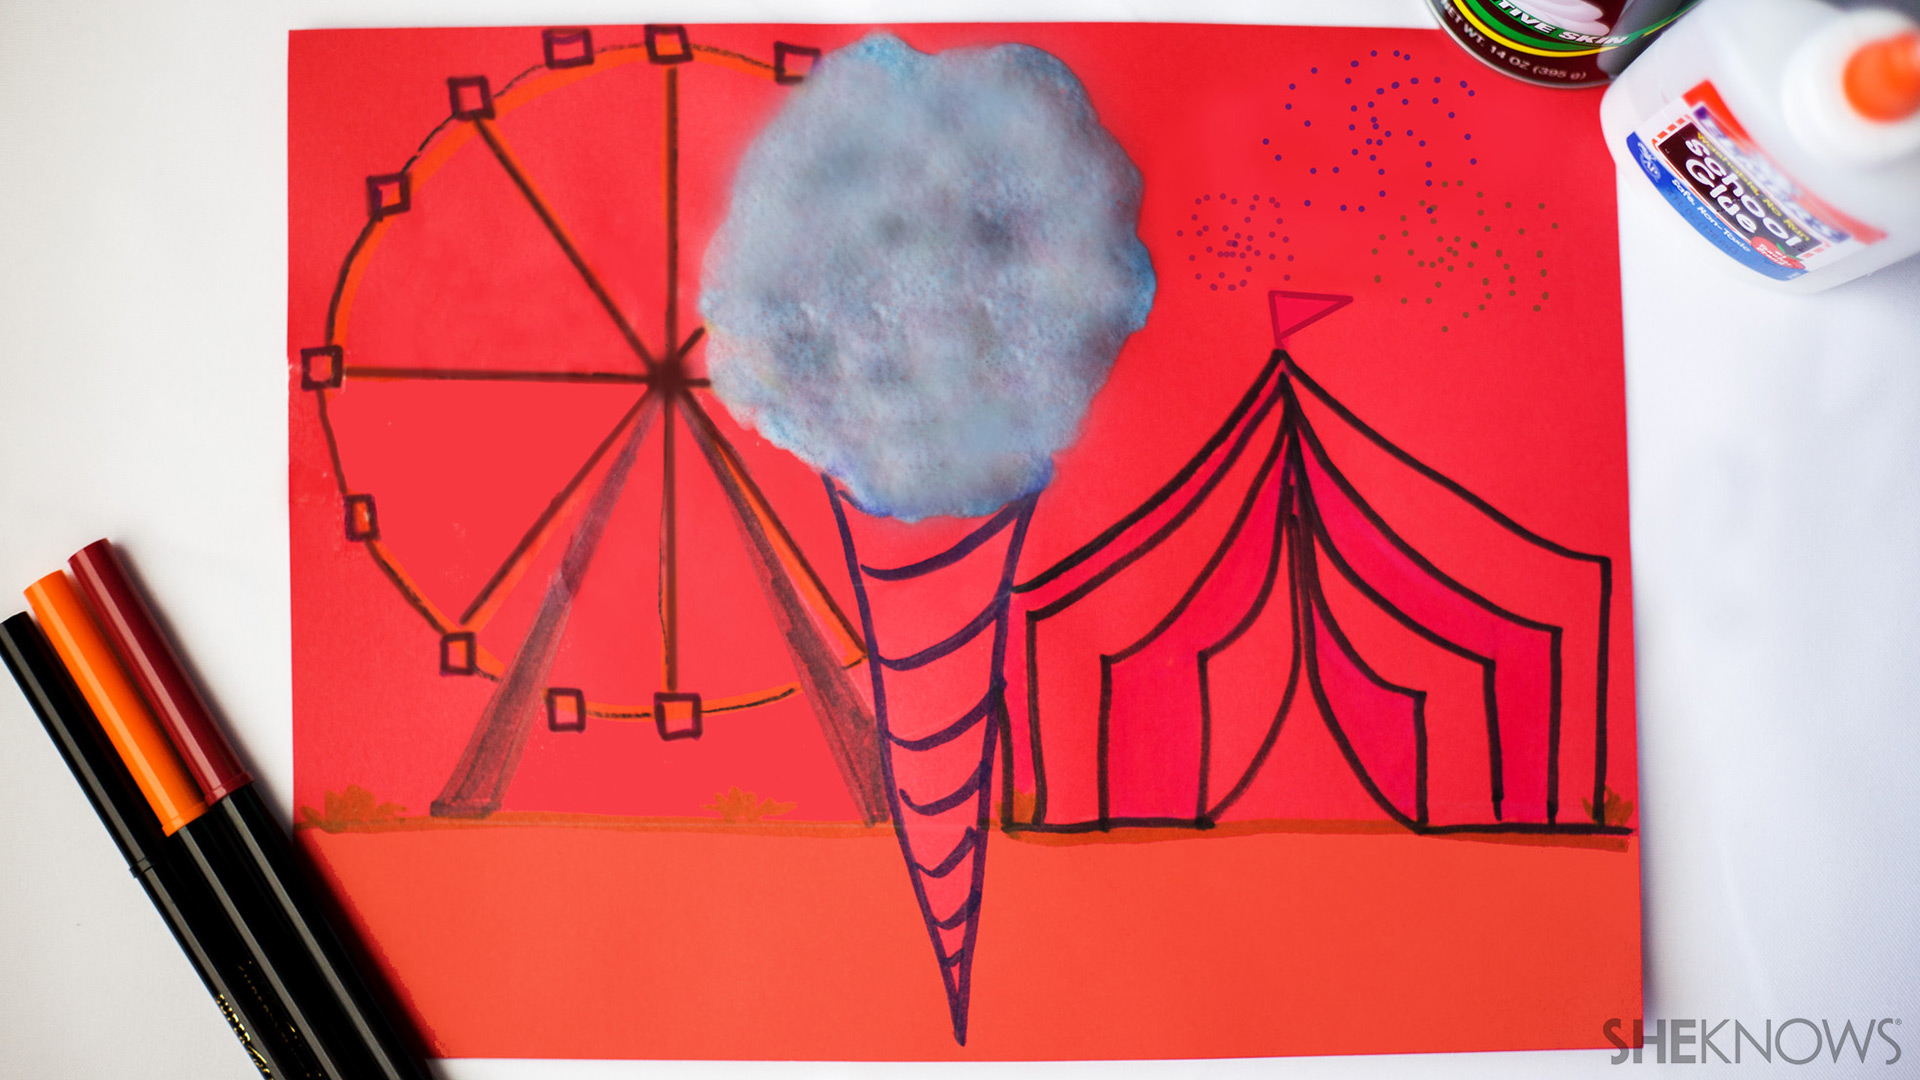
While the sweet, quick-to-dissolve goodness of cotton candy is a big draw to most kids, who can resist the spun sugar's fluffiness, too? But, when you can't make it to the carnival or on a walk at the boardwalk, your child can use DIY puffy paint to create a tribute to this classic candy right at home.
Supplies:
- White school glue
- Foam shaving cream
- Food coloring
- Paper
- Paintbrush
- Markers or crayons
Directions:
- First, mix equal parts of the glue and shaving cream in a bowl or on a plate.
- Next, add one drop of food coloring at a time to your DIY puffy paint, mixing as you go, until you reach your desired hue. Be careful not to over-mix your concoction or your puffy paint will lose its puffiness.

- Then, have your youngster use crayons to draw up any scene he or she pleases — just remember to add a sketch of a cotton candy stick.
- Finally, have your kiddo use a paintbrush to top the cotton candy stick with fluffy, colorful puffy paint and allow it to dry on a flat surface overnight before hanging your child's finest work.
Spring, summer, fall or winter, kids love to make this spider web sensory Halloween craft for kids >>
Cupcake snow painting
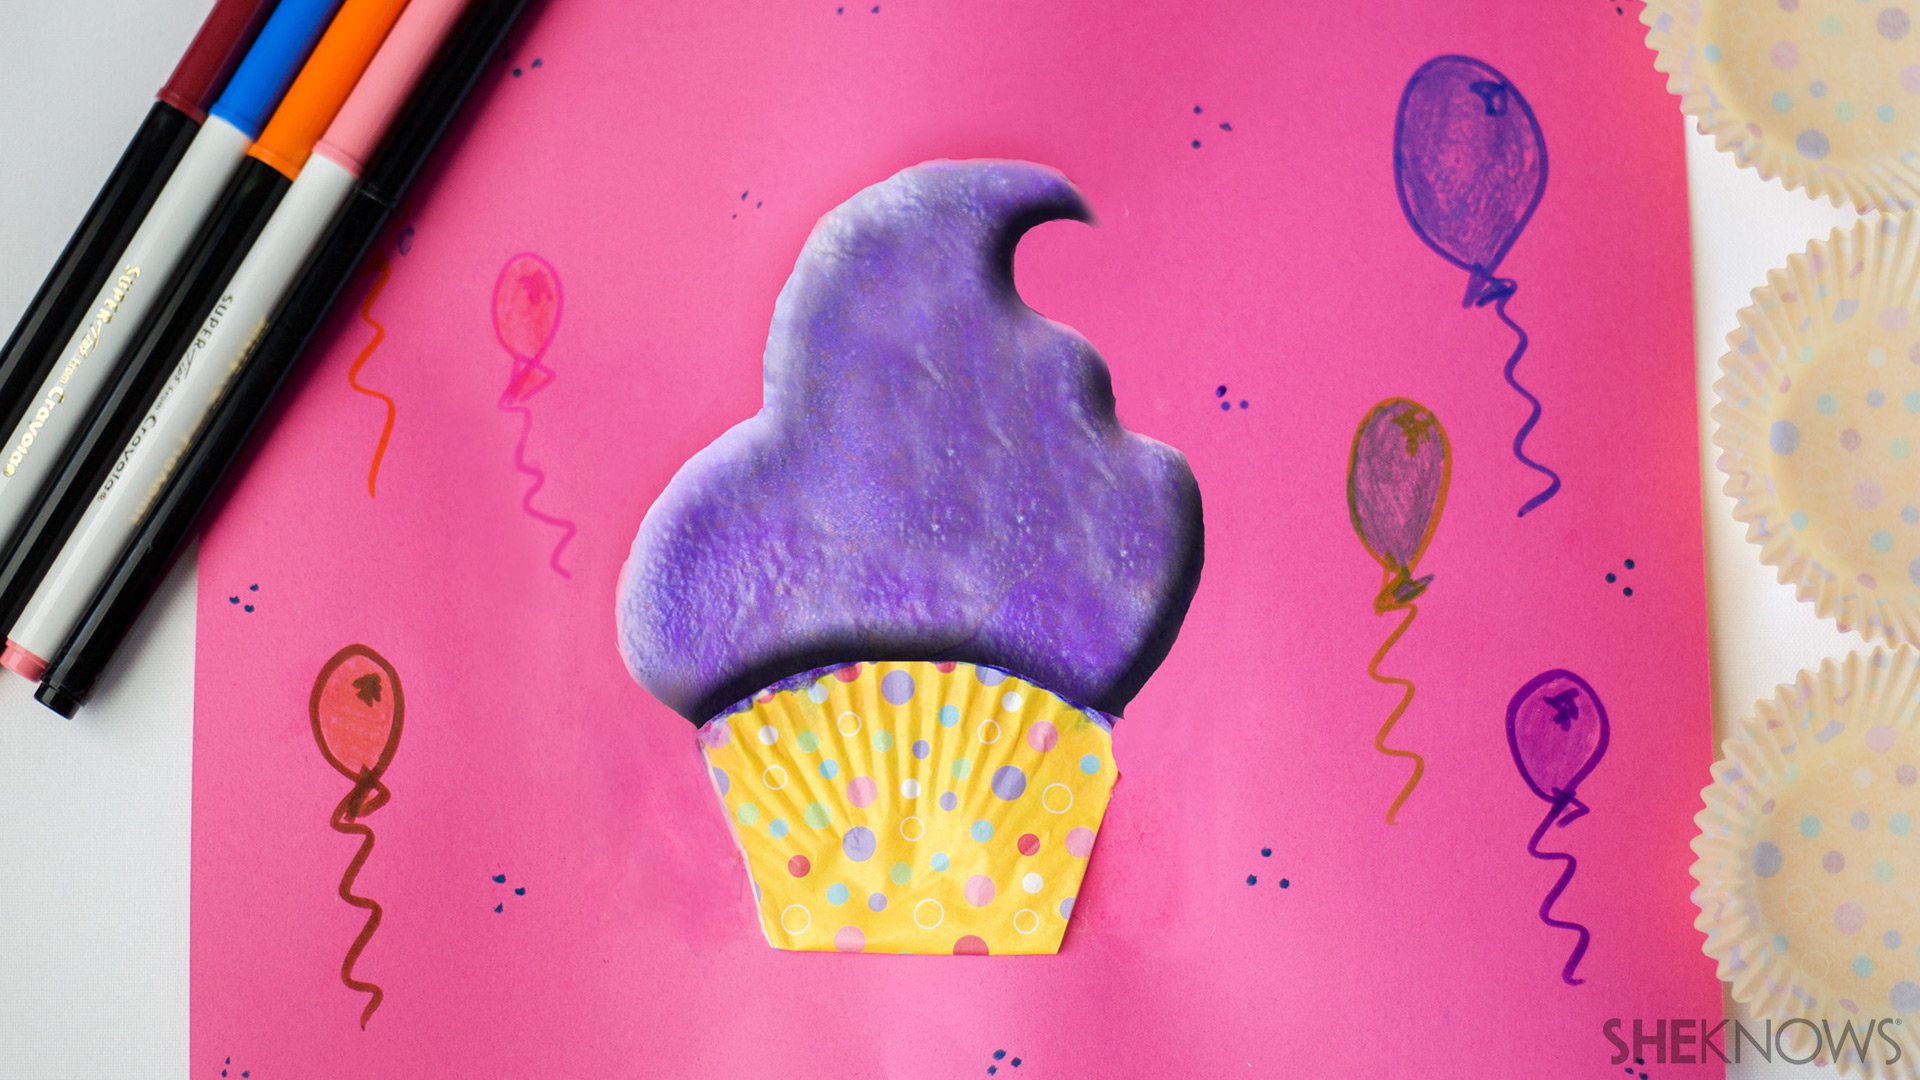
Almost cute enough to eat, your child can use his or her imagination to dab on mounds of frosting to cupcake art without you ever having to worry your youngster will get a sugar rush. Simply use any cupcake wrapper you have in your cupboard and your kiddo is sure to get a kick out of this no-bake cupcake creation.
Supplies:
- White school glue
- Foam shaving cream
- Food coloring
- Paper
- Paintbrush
- Cupcake wrapper
- Scissors
Directions:
- First, flatten a cupcake wrapper in half and snip off each side so it makes more of a cupcake wrapper shape when it lays flat. Glue it to the center of a piece of paper.
- Next, gently mix equal parts of the glue and shaving cream, adding food coloring one drop at a time until you reach your desired shade.
- Finally, have your youngster dollop on mounds of the colorful DIY puffy paint and allow it to dry on a flat surface overnight before hanging this sweet "dessert." And you never even had to turn on the oven!
Read more about crafts for kids
DIY no-sew I-Spy bag
Earth Day plant craft for kids
Minecraft crafts for kids