We've all come a long way with our great recycling habits, but with this fun kids' craft, we can take our Earth-friendly ways a step further — by repurposing those tin cans from the recycling bin. If your kids' art stash looks anything like ours, then you likely have 3 billion stray markers, crayons, pencils and pens. With some clean tin cans, a couple of coats of paint, a bit of washi tape or ribbon and some Mod Podge, you'll have those art supplies corralled in no time.
Supplies:
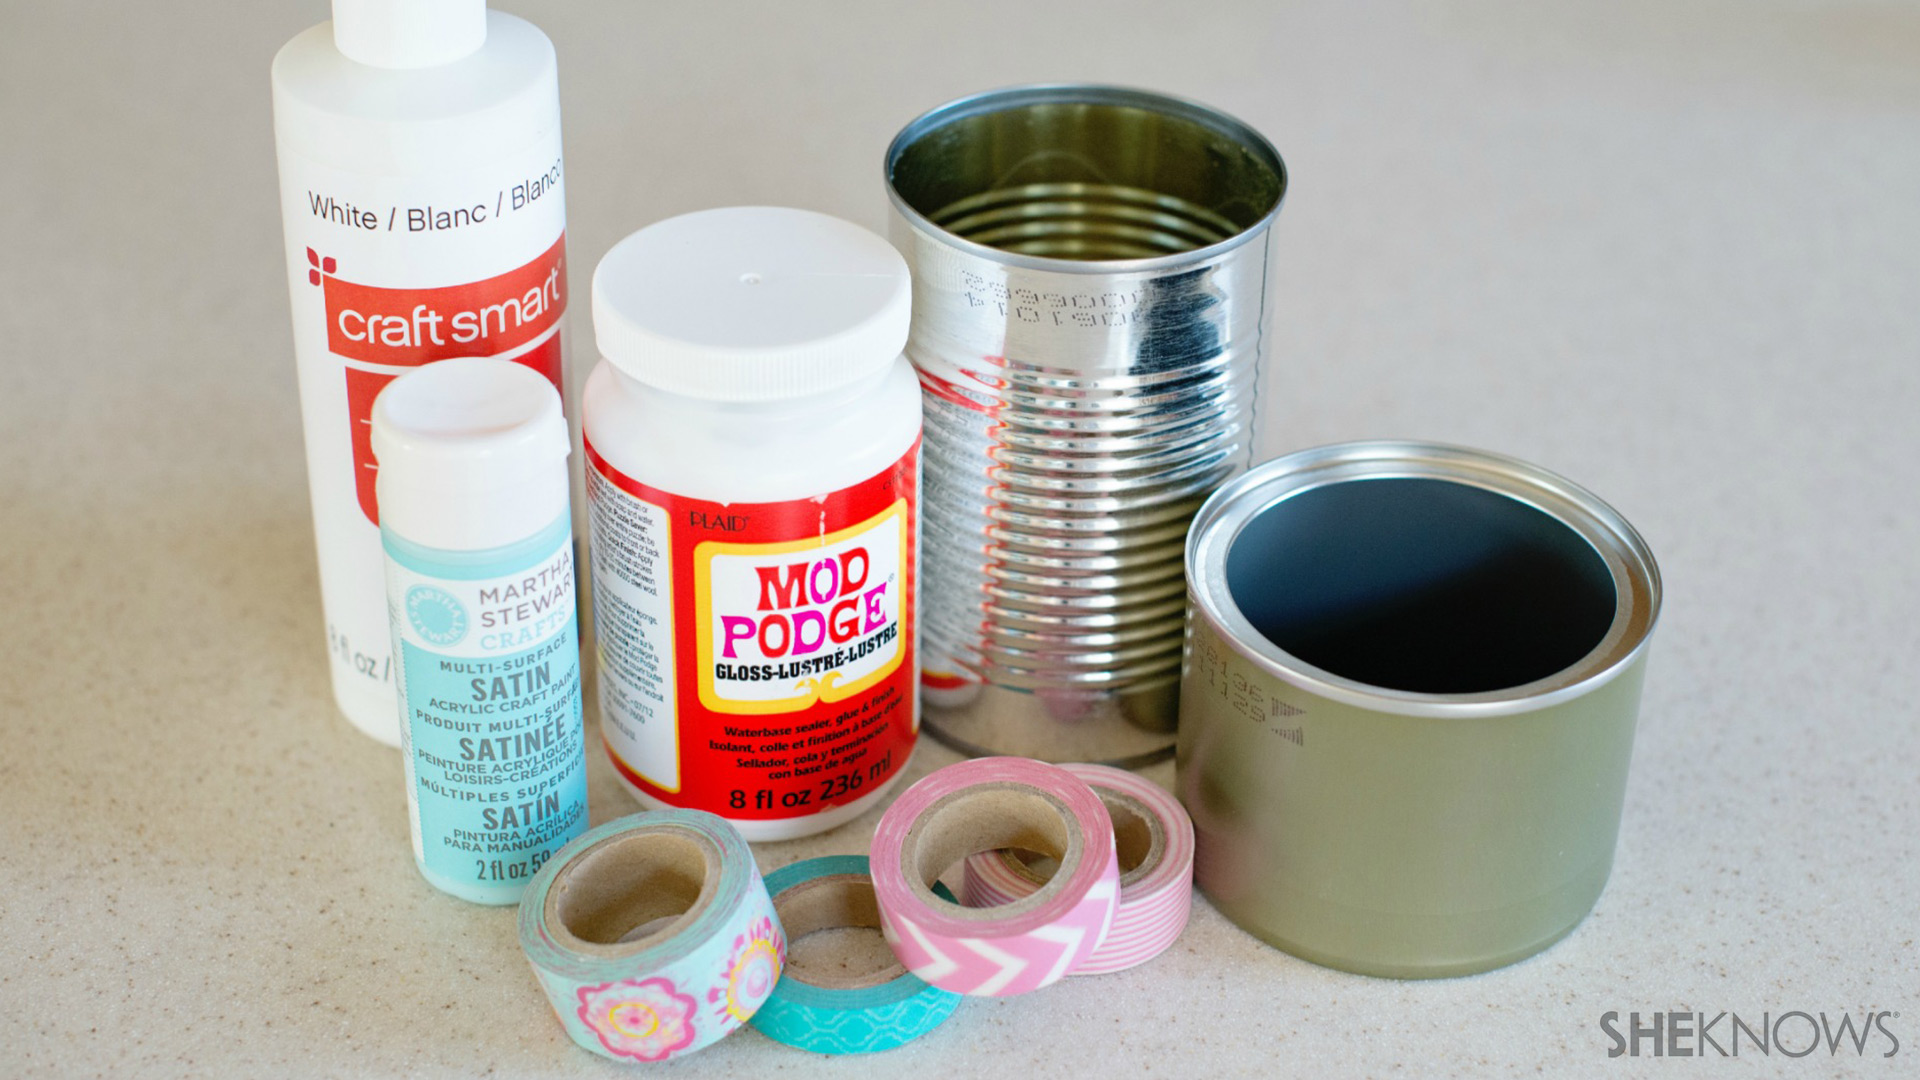
- Tin cans
- Acrylic paint in as many colors as you like
- Washi tape or any other embellishments your child likes
- Glossy Mod Podge
- Paintbrushes
- Optional: White glue if using embellishments aside from the washi tape.
Directions:
- Prepare the tin cans by washing them completely. If there are any tough bits of glue or paper left behind when you remove the labels, Goo Gone or a bit of olive oil are helpful for getting off any residue.
- Thoroughly dry the cans or set them aside to dry completely.
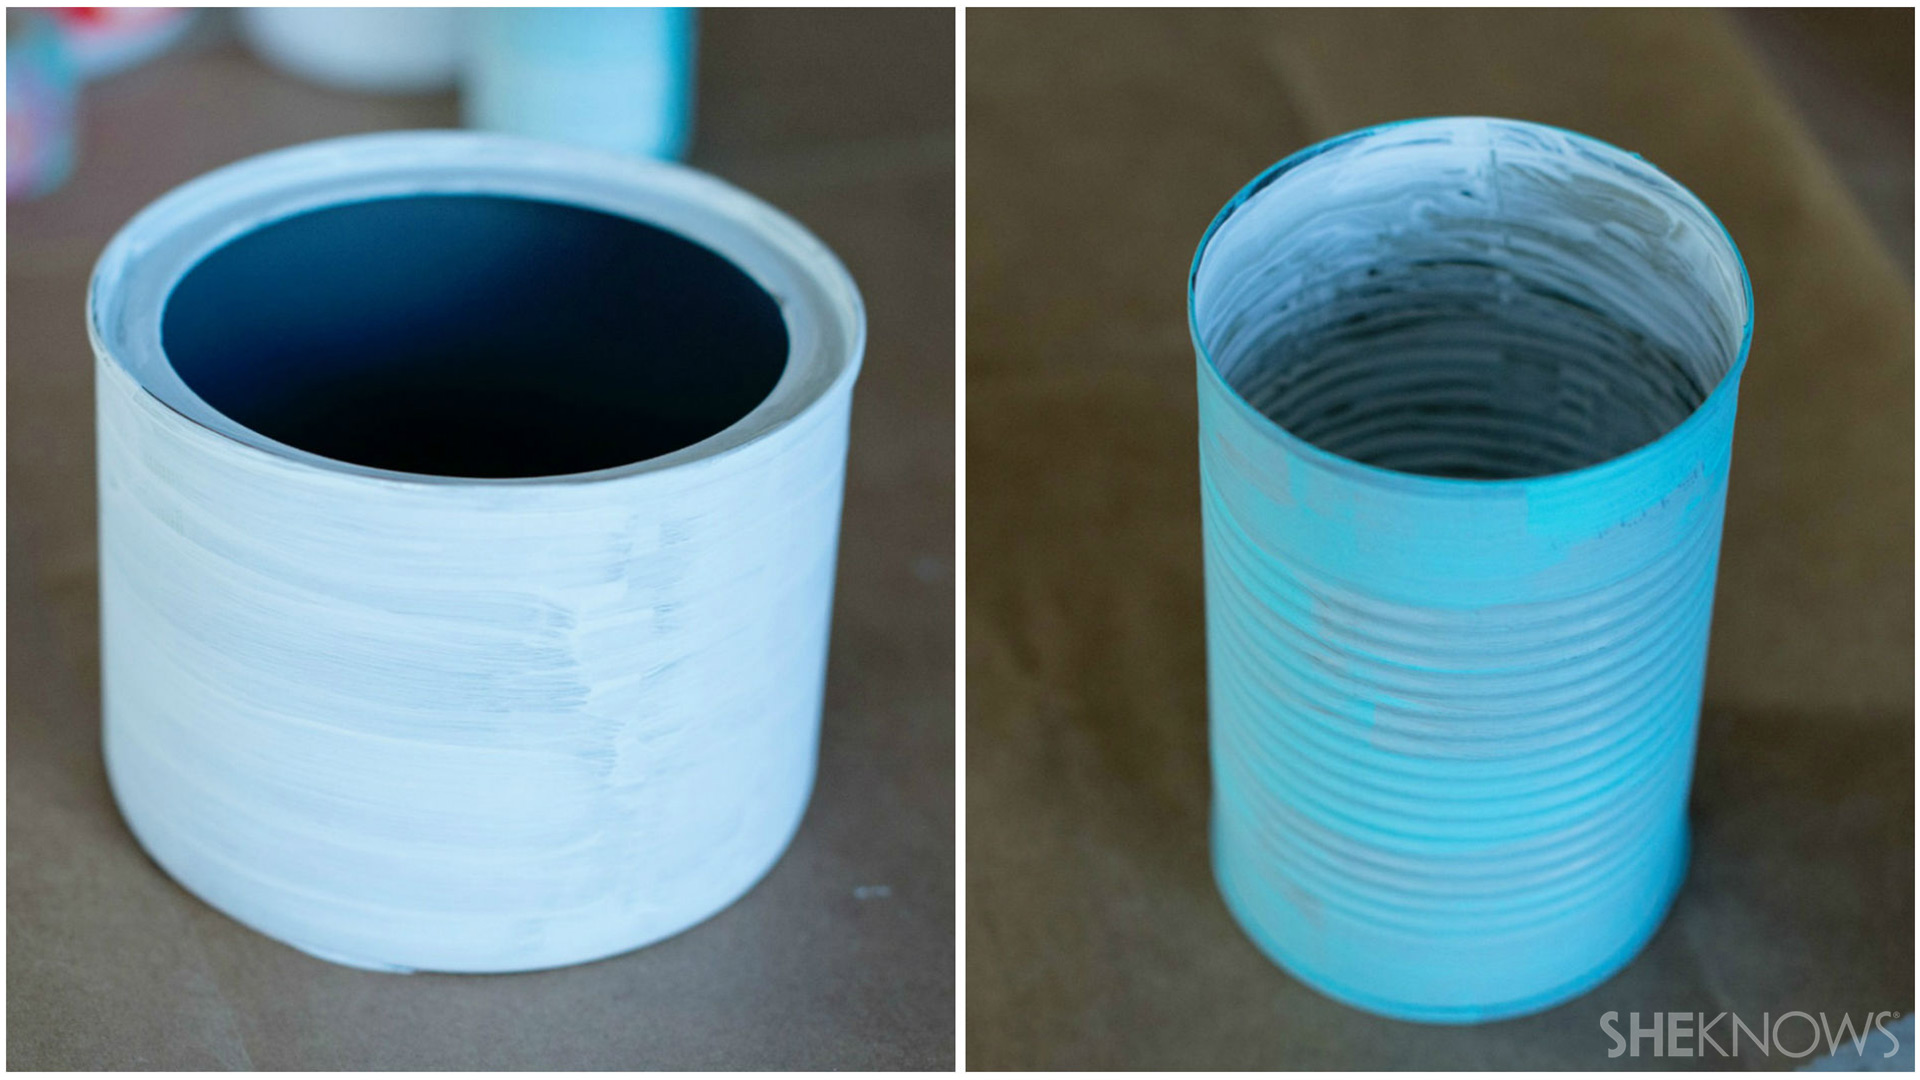
- Paint the outside of each can with the acrylic paint color of your choice.
- Allow to dry completely.
- Apply a second coat of paint.
- Allow to dry completely.
- Optional: Apply 2 coats of paint to the inside of each can, allowing to dry completely between coats.
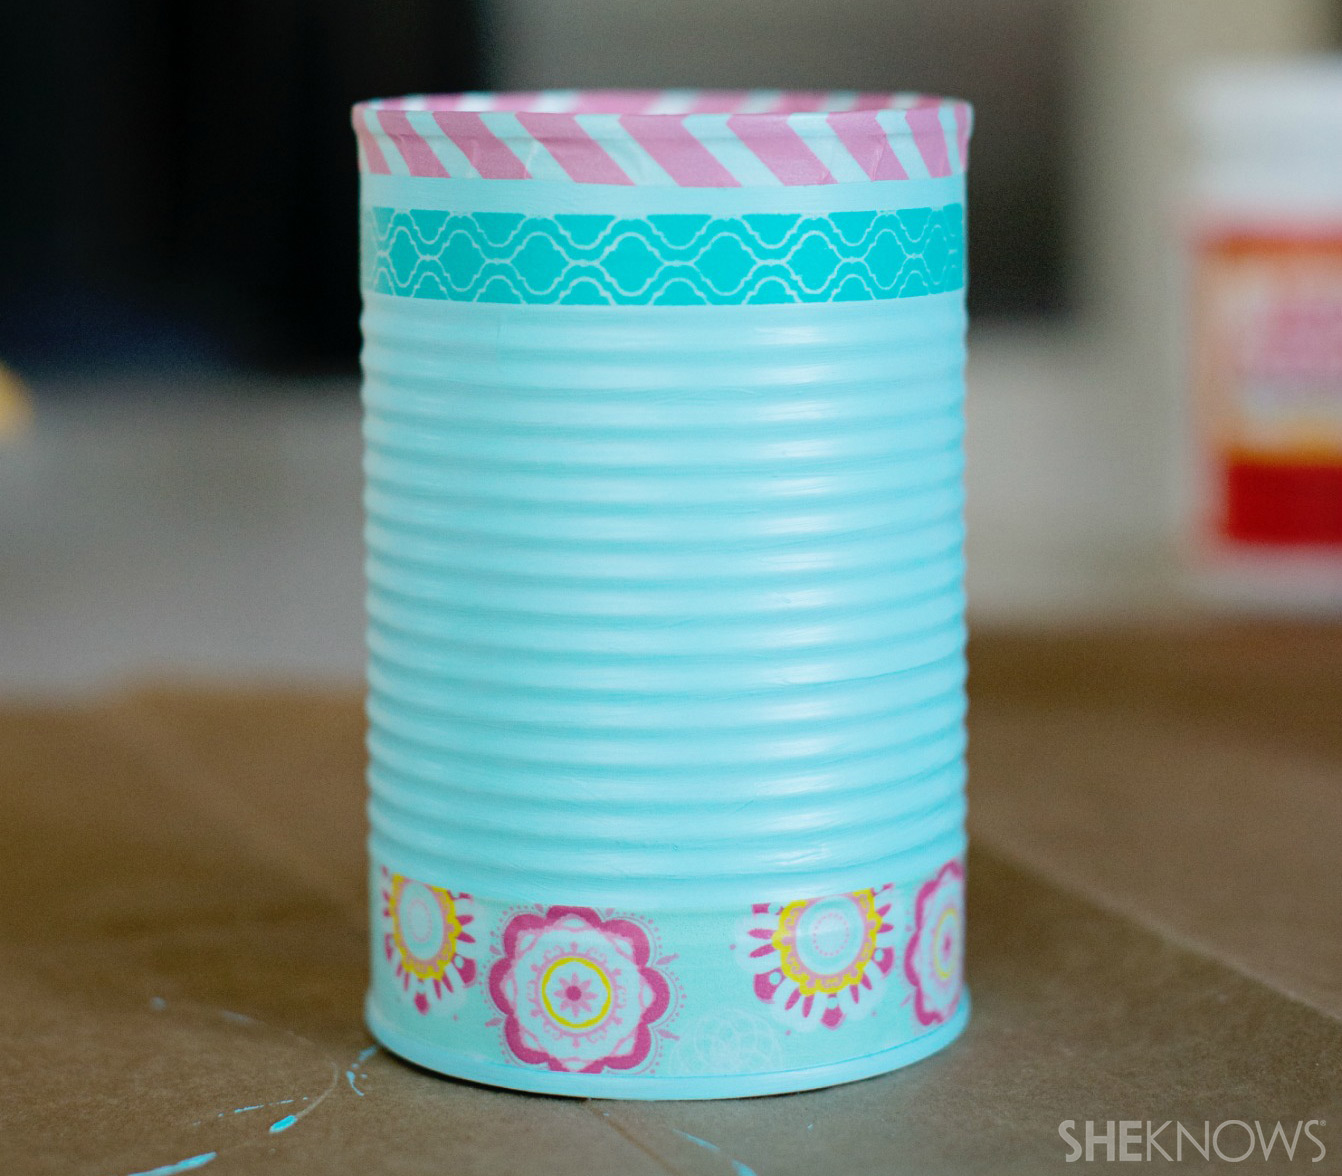
- Once the cans are dry, inside and out, have your child wrap them with washi tape or any other embellishments they've gathered up in any pattern they like. (Washi tape sticks on its own, but ribbon and other materials will need a bit of glue.)
- Some cans have a rough inner edge once open. If your can is sharp, be sure to cover this edge with washi tape or ribbon to protect little hands.
- Apply a thin coat of Mod Podge over the entire outside of each can.
- Allow to dry completely. Don't rush this step or you'll end up with tacky surface.
- Apply a second coat of Mod Podge.
- Allow to dry completely and fill them up.
More fun with tin cans
Make your own elephant stilts
Summer camp-inspired craft for kids: Tin can wind chime
9 Projects for kids who like to build