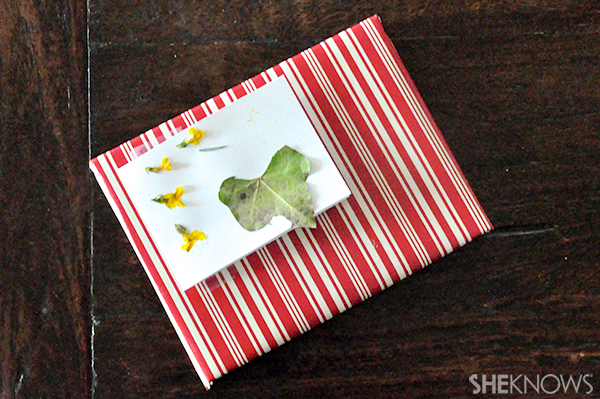
This simple project sparks creativity and teaches children the value of a handmade gift. Even non-crafty parents will find this activity to be easy and fun. Keep in mind that the more autonomy the children have in the process, the more pride they will take in their work.
How to make pressed flower cards
Supplies:
- 1 piece of thick paper or card stock for each card
- Heavy book
- Safety scissors
- Glue
- Little treasures from the garden such as leaves, herbs and blooms. I like to take this opportunity for a self-guided nature walk.
Fold and arrange

Fold the paper in half. Allow your child to arrange the leaves and flowers as he sees fit, encouraging him to experiment, re-arrange and cut down pieces that may be too big.
Flatten and glue

Place the heavy book on top of the card. You can first lay a sheet of wax paper over the flowers but it’s not necessary. Allow the book to sit until everything lies flat. Expedite the process by pressing firmly on the book. This is a good opportunity to remind your child about the importance of having patience. Remove the book and glue down the items.
Finishing touches and delivery

Allow the glue to dry and let your child use markers and crayons to add drawings and letters. If you'd like to flatten the foliage further, leave it under the book for several more days.
If possible, allow your child to personally hand the card to its recipient and watch him light up with joy. Otherwise, let your child lick and stamp the envelope and deliver the card to the mailbox. Always follow up with the recipient to allow for your child's joy to come full circle.
More handmade gifts and cards
15 Handmade gifts for Mother’s Day
How to press flowers
20 Homemade Mother's Day gift ideas