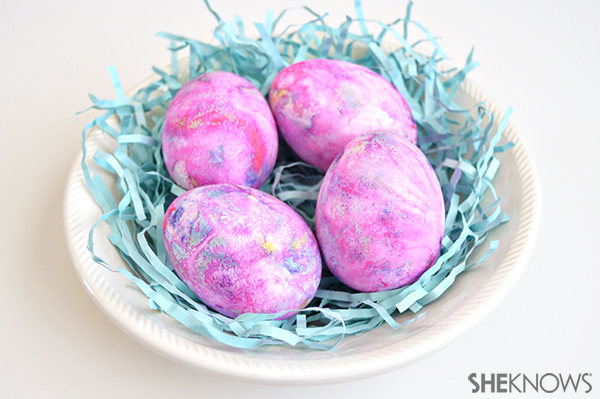
Whipped cream-dyed Easter eggs

Supplies:
- Hard-boiled eggs
- Tub of whipped cream
- Liquid food coloring
- Glass baking dish
- Vinegar
Directions:
- Soak the hard-boiled eggs in vinegar for 10 to 15 minutes.
- While the eggs are soaking, spread a layer of whipped cream in the bottom of a glass baking dish.
- Drop droplets of liquid food coloring over the top of the whipped cream. Use a straw or a toothpick to swirl the food coloring into the whipped cream.
- Remove the eggs from the vinegar, then place them on top of the whipped cream.
- Roll the eggs around until they are completely covered by the whipped cream, then let the eggs sit for 20 to 30 minutes.
- Remove the eggs from the whipped cream and rinse them off with cold water to reveal the design underneath.
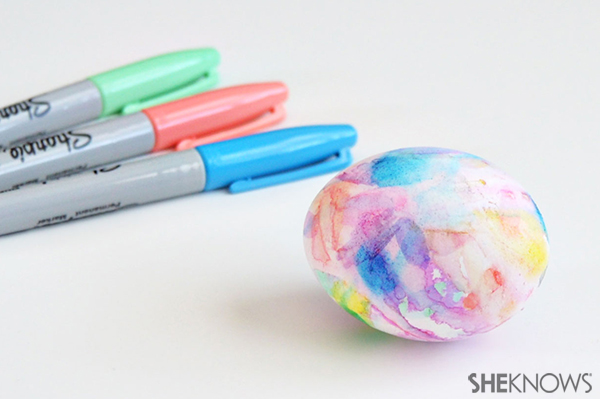
Sharpie-dyed Easter eggs

Supplies:
- Hard-boiled eggs
- Sharpie pens
- Rubbing alcohol
- Spray bottle
Directions:
- Pour some rubbing alcohol into a small spray bottle.
- Color a design on the outside of the hard-boiled egg with a Sharpie.
- Working quickly, before the Sharpie has had a chance to set, spray it lightly with the rubbing alcohol. The colors will bleed and spread across the egg.
- Repeat steps 2 and 3 until the egg is completely covered with the Sharpie dye.
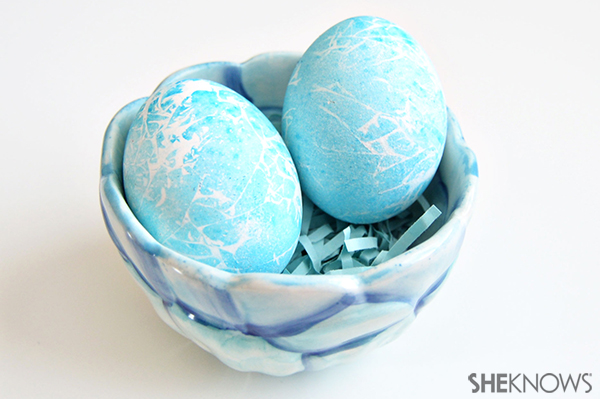
Tissue paper-dyed Easter eggs

Supplies:
- Hard-boiled eggs
- Tissue paper*
- Paintbrush
- Water
Directions:
- Use the paintbrush to wet the outside of the hard-boiled egg.
- Wrap the egg tightly in a sheet of tissue paper.
- Paint the outside of the tissue paper with water until the tissue paper is completely saturated.
- Let the eggs sit for 10 to 15 minutes, then remove the tissue paper to reveal the design underneath.
*Not all tissue paper will work for this project. Choose a tissue paper that will "bleed" when wet.
More Easter craft ideas
Animal-themed Easter crafts for kids
Make your own Easter basket
Easter party crafts for kids