Back-to-school door hanger
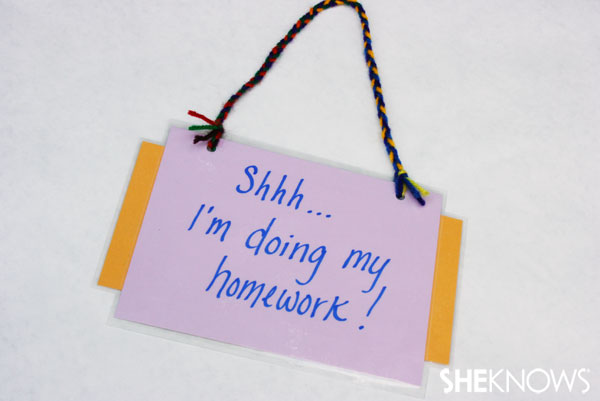
Your child can let everyone know when to use quiet voices so he or she can concentrate on homework and then turn it around in the morning to provide your child with a quick, visual checklist of things to do before school.
Materials:
- 2 pieces of cardstock paper
- Double-sided tape
- Craft markers
- Hole punch
- String
- Scissors
- Laminator
Directions:
- Cut a square from one piece of cardstock paper.
- Write “Shhh… I’m doing my homework!” on one side.
- Cut a rectangle from the second piece of cardstock.
- Write “My Morning” along with any morning chores your child needs to complete before heading off to school.
- With double-sided tape, tape the two pieces of cardstock together.
- With a single hole punch, punch two holes near the top.
- Laminate and cut around the sign .
- If laminated, carefully poke a hole through each hole punch with the scissors.
- Cut three pieces of string and carefully string them through one hole, securing it with a double knot.
- Braid the three pieces of string and then carefully string the pieces through the second hole, securing it with a double knot.
Essential craft supplies to keep in the house >>
Back-to-school bookmark
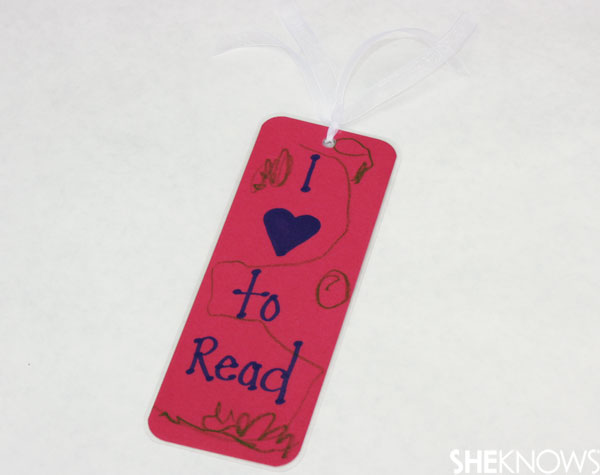
Save your page each night with a customized bookmark!
Materials:
- Cardstock
- Hole punch
- Ribbon
- Scissors
- Craft markers
- Laminator
Directions:
- With scissors, cut a rectangle from the cardstock paper.
- Write: “I love to read!” on one side and decorate both sides.
- Round the corners with scissors or a corner punch.
- With a single hole punch, punch one hole close to the top.
- Laminate the bookmark .
- If laminated, carefully poke a hole through the hole punch with scissors.
- String ribbon through the hole and secure the ribbon with a double knot.
Back-to-school paper weight
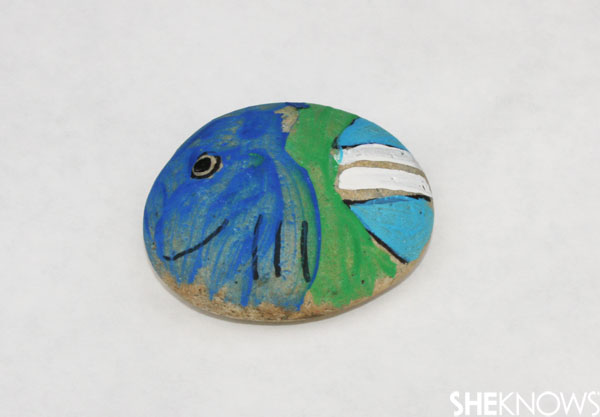
A paper weight makes a great teacher gift or can be used at home to organize homework and school projects. Get creative and make some with numbers or days of the week to prioritize which homework needs to be completed first.
Materials:
- Rock
- Paint
- Paintbrush
- Permanent marker
Directions:
- With a permanent marker, draw your favorite face, animal or design.
- With a paintbrush, paint the rock to your liking.
- Let dry.
Next up: More back-to-school craft ideas >>
{pageBreak}
Back-to-school pencil holder
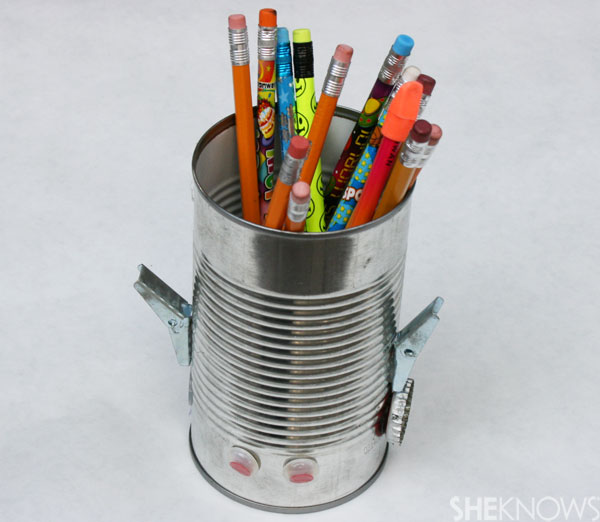
Keep your pencils close by with a fun and funky pencil holder made to fit your unique personality.
Materials:
- Aluminum can
- Hot glue gun
- Misc. items from around the house
Directions:
- Clean and dry one aluminum can.
- Gather items from around the house and hot glue gun them to the sides of the can.
Safety tip: This back-to-school craft is for children 8 and up. For younger children, consider using ribbon, tape strips or paper around the can to decorate it without the use of a hot glue gun and potential choking hazards.
Backpack name tag
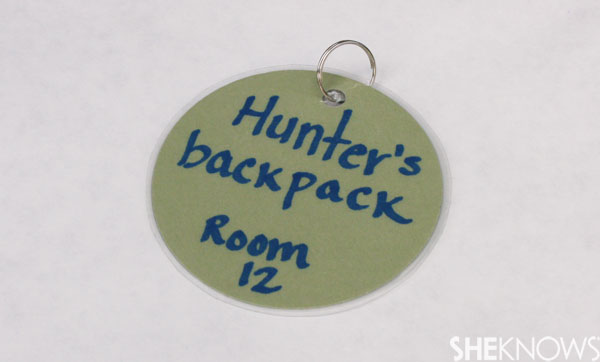
You'll always know which backpack is yours when you have your very own, unique name tag.
Materials:
- Cardstock paper
- Circle hole punch
- Craft markers
- Hole punch
- Key ring
- Laminator
Directions:
- Using a circle hole punch, cut a large circle from a piece of cardstock.
- Write your name, classroom number and decorate the circle with craft markers.
- With a single hole punch, punch a hole near the top.
- Laminate the backpack tag .
- If laminated, carefully poke a hole through the hole punch with scissors.
- Feed a circle key ring through the hole and then on the zipper or side of a backpack.
Craft supplies you can make at home >>
School year memory book
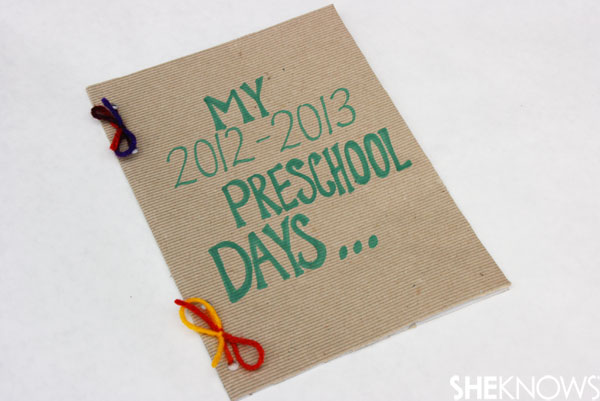
Create your own school year scrapbook and fill it with special photographs, drawings and notes as the year progresses.
Materials:
- Cardstock paper
- Printer paper
- Hole punch
- String
- Craft markers
- Double-sided tape
Directions:
- Fold a piece of cardstock in half.
- On the front write: “My 2012 – 2013 Preschool Days…” .
- With a single hole punch, punch four holes along the folded edge.
- Fold multiple sheets of printer paper in half and place inside the cardstock paper.
- Mark inside the punched holes so you know where to punch the holes on the printer paper.
- Remove the printer paper from the cardstock and punch holes where marked.
- Place the folded printer paper back inside the cardstock and secure with string.
- As the year goes by, place photos, artwork and memories inside the book with double-sided tape.
Watch and learn!
Watch this How To episode and learn how to make a special door hanger for your super student!
In this episode of How To learn to create a special door hanger for your little school student.
More back-to-school ideas and fun
6 Back-to-school outfits your elementary school kid will love
Get your kids excited for back-to-school
6 Tips for getting your house ready for back-to-school time