Whooo’s Ready for Lunch?
Breaking out of the school lunch rut doesn’t have to take a lot of extra time or supplies if you get creative with what you have.

This adorable owl sandwich didn’t require a special owl cutter. By cutting into rectangle bread with only a small portion of a circle cookie cutter, you have enough of an owl shape to know what he is. Adding in large eyes and a beak is just enough to make him cute. Usually the less you do, the cuter it will be!
Another way to shake things up is by adding in themed side items. After making so many themed lunches over the years, I was finally starting to run out of ideas. This led to my current obsession of making lunches that rhyme. It not only adds in a little learning for the student, but it also kick-starts my creativity process. This led to breaking out my alphabet cookie cutters to add some fruit Es to the pretzel Os combining to make vowels to rhyme with owls. Rut averted!
Here’s how to make your own owl sandwich:
Create owl shape
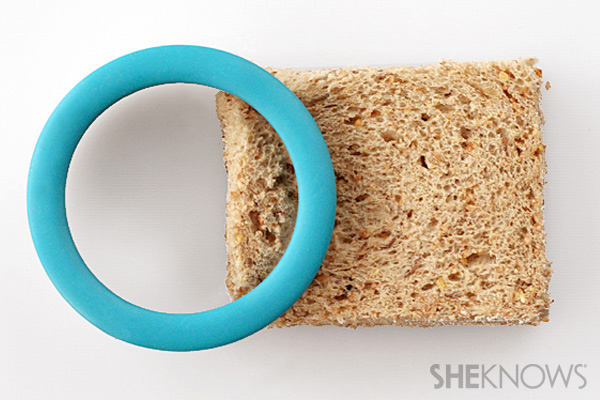
Trim crust off of bread with knife and position a circle cookie cutter just slightly onto edge of rectangle to cut. Depending on the type of sandwich, you can add fillings before or after this step. This sample sandwich is a good old PB&J, so I chose to fill after.
Tip: When using cookie cutters with bread, the bottom side of the bread will have the crispest edge, so I always make sure the side I want to show is facing down during cutting. Also, make sure everything cut through completely before removing cutter.
Create eyes
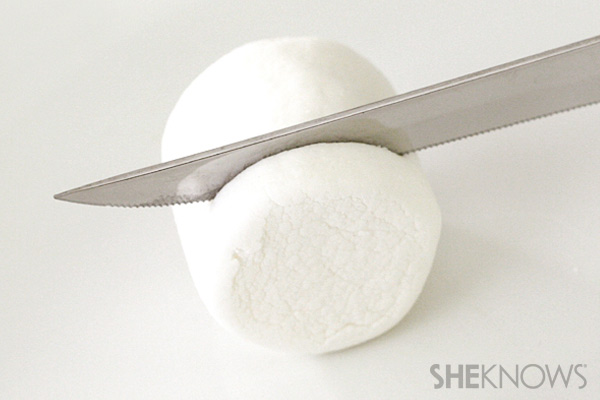
Cut off the two ends of a marshmallow with a knife or kitchen shears. Press back into a circle shape if deformed while cutting. If your sandwich is savory, try cutting out circles from a white cheese such as provolone or Swiss instead.
Create beak
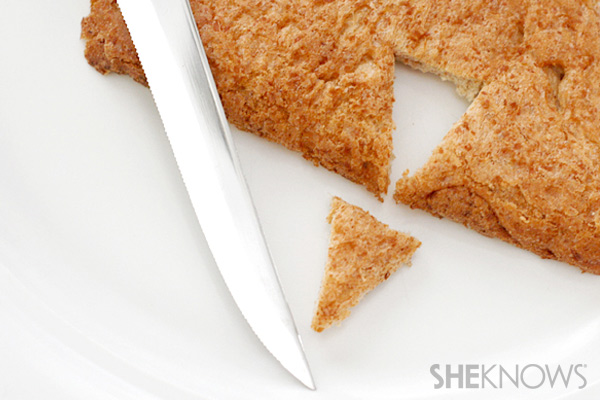
Cut out a triangle shape from the heel of a bread loaf using a knife or kitchen shears.
Tip: Always save your sandwich heels to have available for sandwich embellishing since they are a darker color.
Assemble face
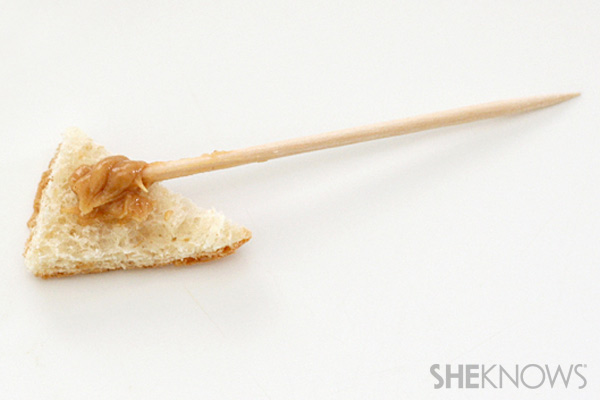
Glue eyes and beak onto bread using peanut butter. For a savory sandwich, attach your cheese eyes with cream cheese instead.
Add pupils

Draw dots at center of marshmallow circles using a black food marker.
Place sandwich in lunchbox
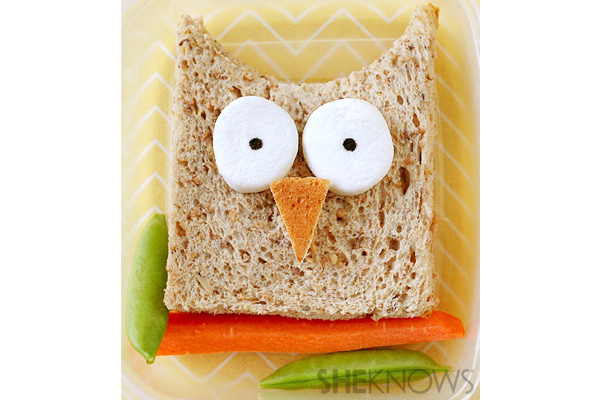
Your owl is now complete! I use an EasyLunchBoxes divided lunch box to keep lunches easy with one main compartment and two smaller ones. I like that there is one lid and the child can see the entire lunch presented at once instead of pulling out separate containers or bags. Add the owl to the main compartment and add in some fillers to keep it secure.
Tip: Dry veggies are good to add here as they won’t transfer any mess to your sandwich. I went with a carrot to serve as a branch and sugar snap peas for leaves.
Add the rhymes
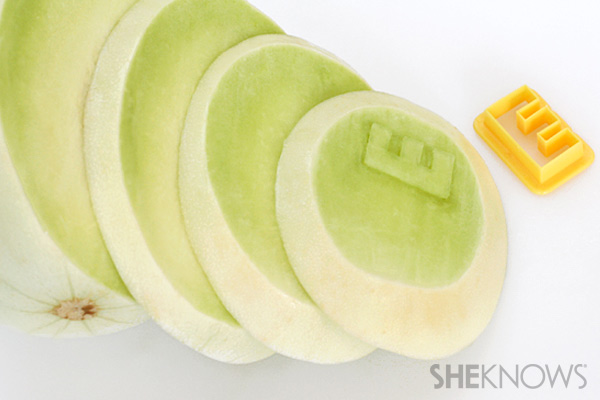
For my rhyming vowel sides, I added yogurt covered pretzel rings to represent the letter O and I cut out melons into the shape of Es.
Tip: An easy way to cut shapes from melons is by making thin slices beginning from the outside. Keep in mind the depth of your cookie cutter if it has a top rim. Make slices until you reach the seeds of the melon. At this point you can turn it around and make slices from the other side if needed, or simply cut up the rest of the melon as you normally would.
Additional idea

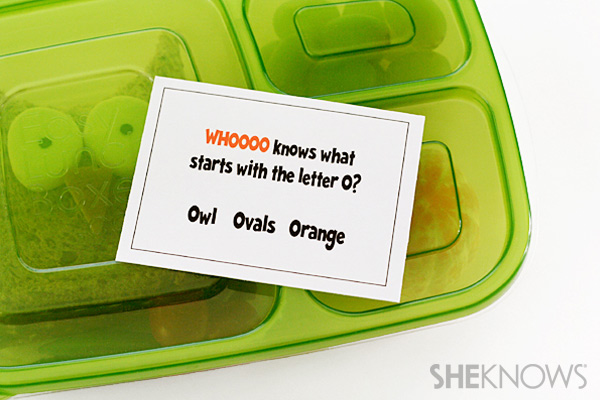
Another way to jumpstart side ideas is to pick foods that all start with the same letter. Here we have owls, an orange and ovals . I always like to include a little note with their lunch to let them know their lunch’s theme.
No matter what theme you choose to use, your child will enjoy the extra bit of fun they will find in their school lunch.
More school lunch ideas
Getting started with bento boxes
Lunchbox boredom busters
Pack a better lunch for your kids