Getting started
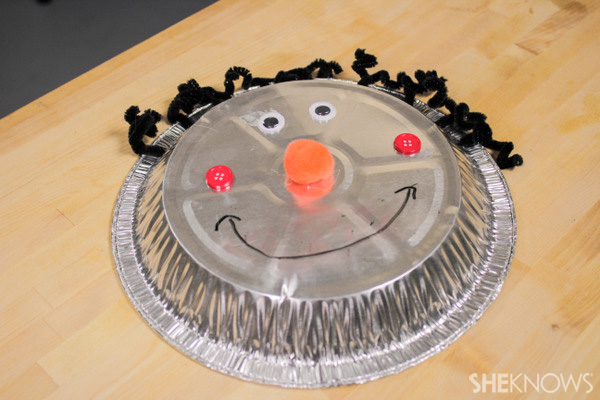
Inexpensive pie tins can be made into adorable robots that kids can customize as their very own. The unique thing about the pie tin surface is that you can draw on it — and easily remove your drawings — with dry erase markers. This is a very open-ended craft and project. You can use any art supplies you have around your house, or make a special trip to the hobby store to get glue, stickers, pipe cleaners, glitter and googly eyes — or whatever your little artist wants to use.
Punch hair holes
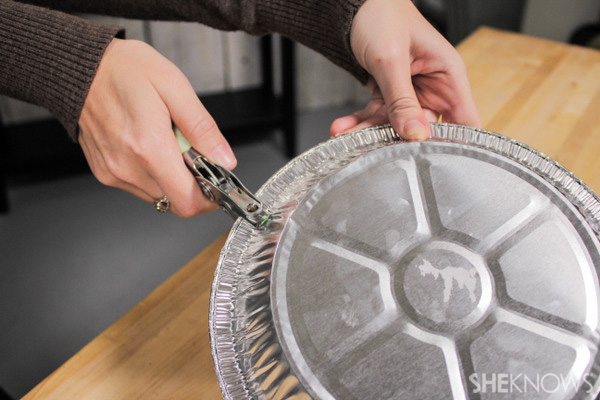
To start, add hair to your robot with a simple hole punch. Go around the outer edge and punch a few holes. This is a task for the mom or teacher — and you don't want to leave the hole puncher out for the kids to grab when you're not looking.
Customize the hair
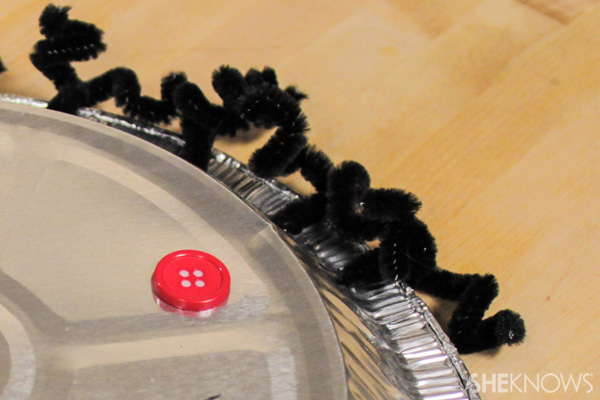
You can use anything from ribbon, yarn or pipe cleaners to add hair. Encourage your child to make it look like her, or to use her imagination. Heather says that her crafts always start out as one thing, but she enjoys how they take off with each person who creates them. For curly hair, roll pipe cleaners around a pencil.
Affix the pom pom nose
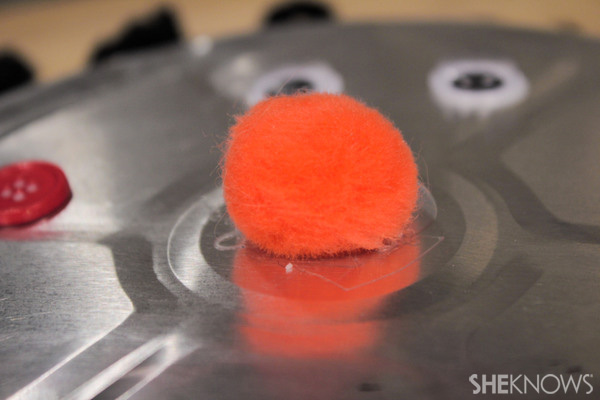
Have a nearby dish ready with some glue, and simply dip a pom pom of your choice in it to affix in the middle for an easy, yet adorable nose.
Use buttons for the cheeks
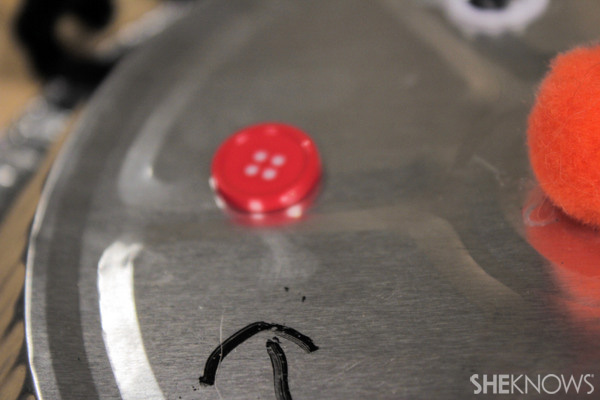
Use a popsicle stick to apply glue to the back of buttons to give the appearance of fun and quirky cheeks.
Add the eyes
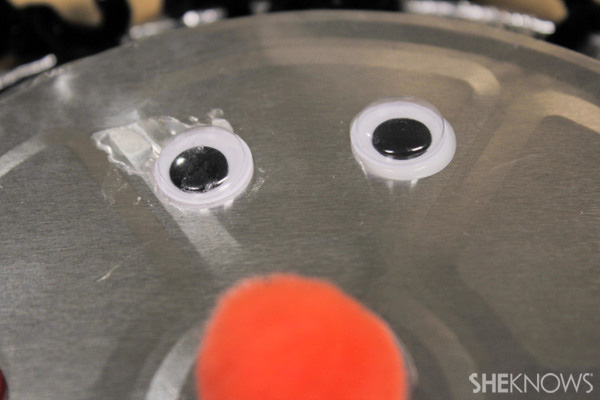
Apply glue to the backs of googly eyes for an adorable touch to your robot.
Make the mouth temporary
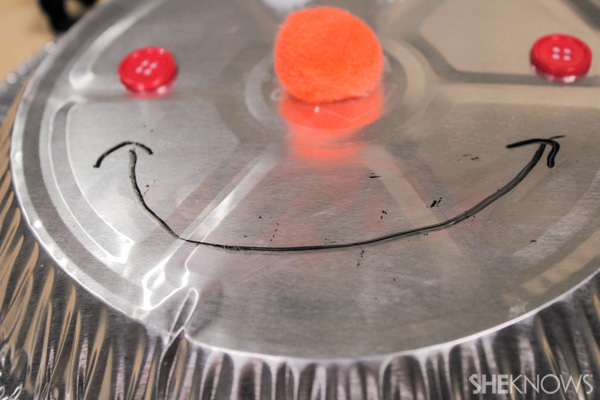
Use dry erase markers to create a mouth for your robot. It can be a good way to teach emotions — you can draw a smile to show happiness, or a frown to express sadness. Your child can use this as a way to tell you how she's feeling, too!
Watch the video
To see the tutorial on how to create these pie tin robots, watch the video below.
More fun crafts
Make your own movie night tickets
Indoor craft ideas for moms on a budget
Family fun: Bring out your inner artist